

In this article, we will build our own package and publish it on pub.dev.
Mainly there are 2 types of packages :
Dart packages: These packages are developed using the Flutter and Dart SDKs, which are not dependent on native platforms like Android or iOS.
Plugin packages: These packages include one or more platform-specific implementations. Plugin packages may be built for Android (Kotlin or Java), iOS (Swift or Objective-C), the web, and macOS. image_picker is an example of a plugin package.
In this article, we will focus on the dart package only.

Steps:
Create a package
Write the code(Implementation)
Write the documentation
Test and publish the package
1. Create a Package
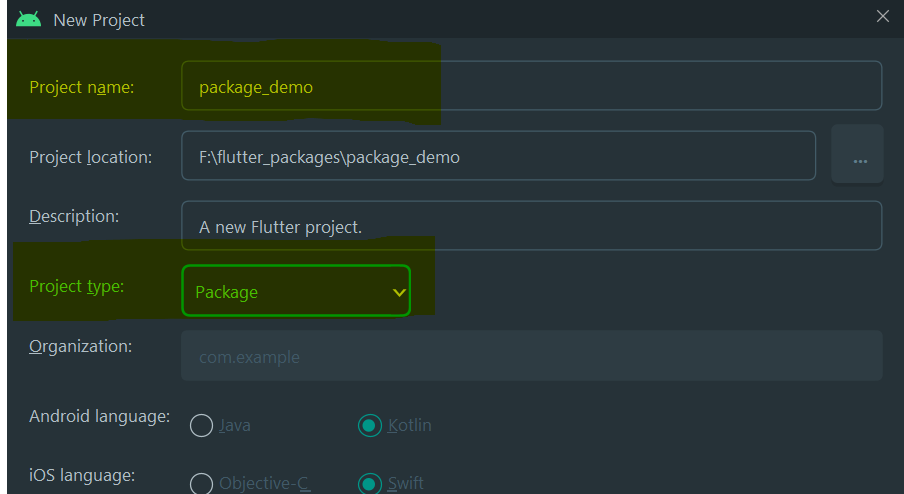
If you are using an android studio then start a new project, Give the project name of your choice and select the project type as Package.
Or
If you are using a command line tool then create a package using the below command. I'm creating the package with the name "package_demo" here. You can use your package name.
flutter create --template=package package_demo
Now you have created an initial project. Let's push it to GitHub.
Steps for android studio users:
Click on VCS -> Share Project on GitHub -> Share

For command line tool:
Create a repository on Github, Then run the below command one by one. Make sure you enter your remote address in the 4th command.
git init
git add --all
git commit -m "initial commit"
git remote add origin https://github.com/bhoomit74/package_demo.git
git push -u origin master
Once you upload the project on GitHub. We can start writing some code for our package.
2. Write code
In the lib folder, we will create files and write the package code.

By default, there is one file with the project name(in my case lib/package_demo.dart), so I'm using that for this tutorial, But you can create new file/files if you want.

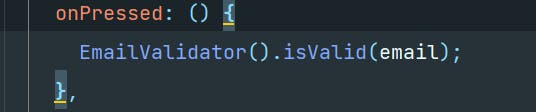
I have added code for email validation, our package will validate the email😜.
Now as we are done with the code Let's update the pubspec.ymal file.
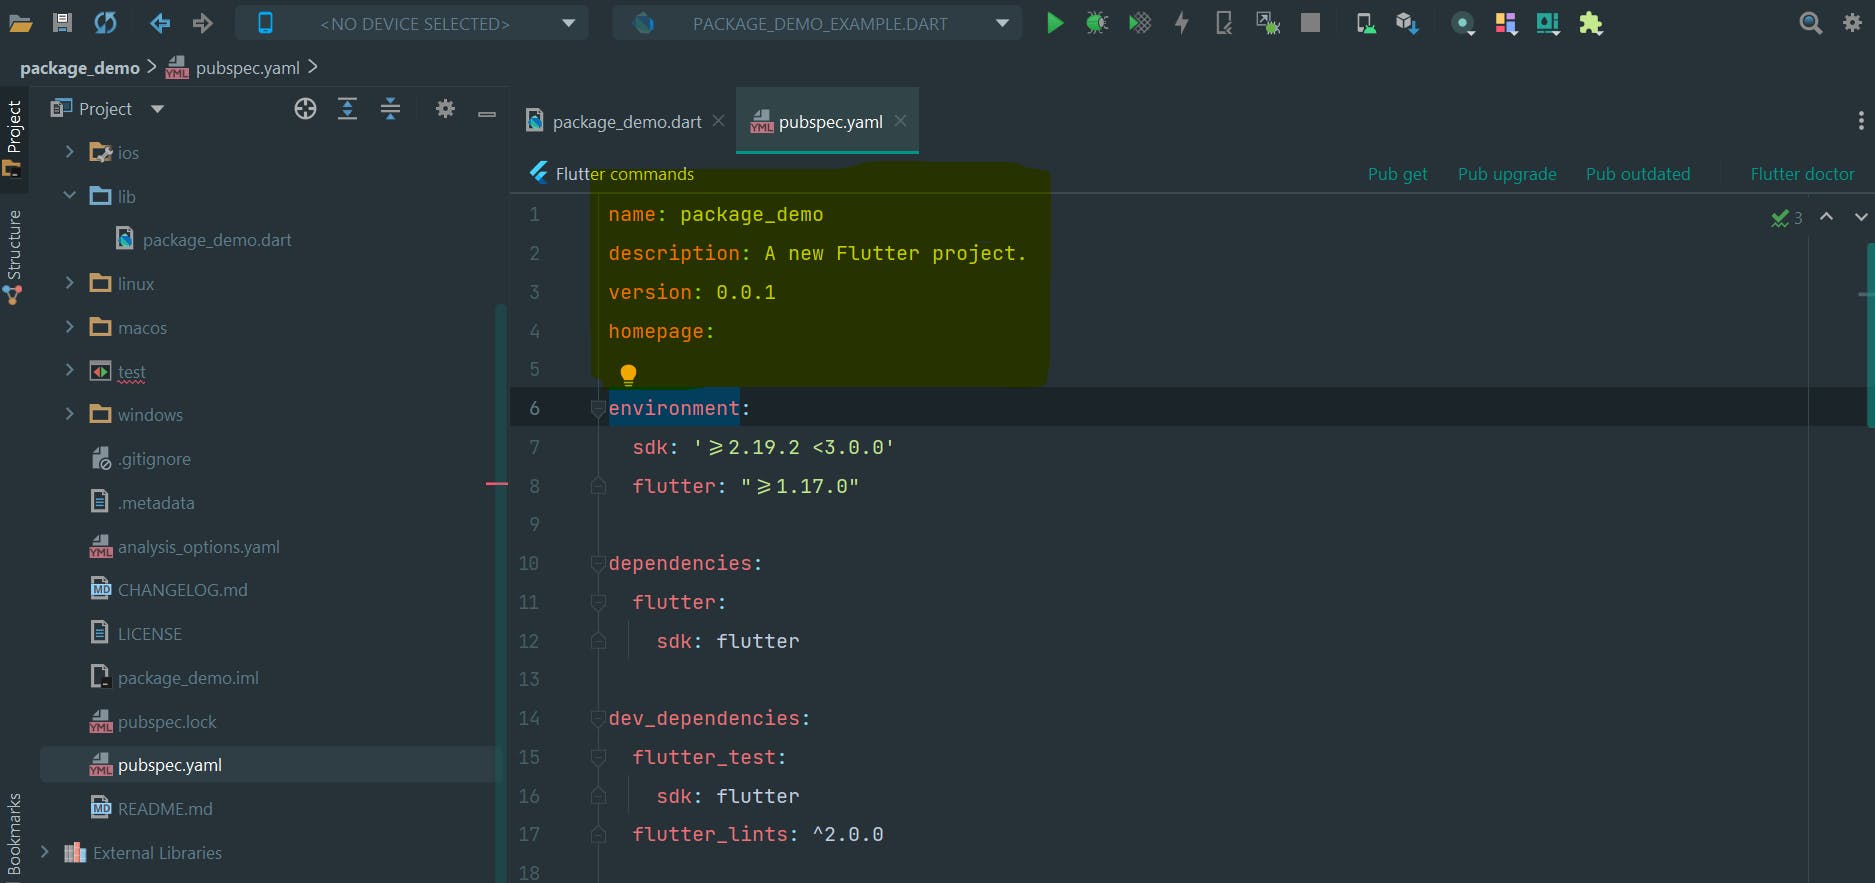
Write a brief explanation of the package and what it does in the description field, and In the homepage field, you can provide your GitHub repository URL.
3. Write the documentation
Change CHANGELOG.md file
We'll list the versions of our package one by one in this file.
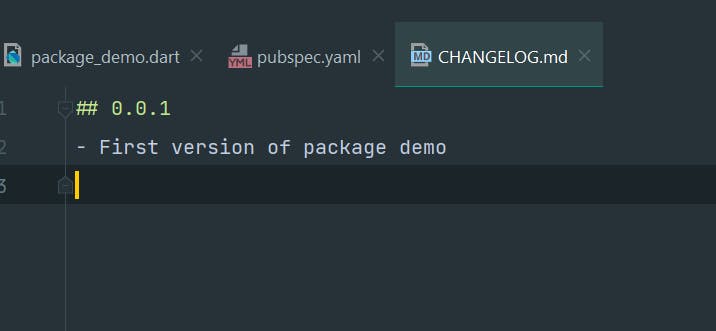
Our initial version is 0.0.1 and we have written a description for that.
Update the README.md
Write down your package description, which appears in pub.dev.
Add example README.md (Optional)
Create a directory "example" in your root directory,
then add a README.md file, then write down the example in it.
Add license
In the LICENSE file, you have to add your license text.
I will use MIT License, You simply need to write your name and the year.
 MIT License

 Copyright (c) [2023] [Bhoomit Patel]

 Permission is hereby granted, free of charge, to any person obtaining a copy
 of this software and associated documentation files (the "Software"), to deal
 in the Software without restriction, including without limitation the rights
 to use, copy, modify, merge, publish, distribute, sublicense, and/or sell
 copies of the Software, and to permit persons to whom the Software is
 furnished to do so, subject to the following conditions:

 The above copyright notice and this permission notice shall be included in all
 copies or substantial portions of the Software.

 THE SOFTWARE IS PROVIDED "AS IS", WITHOUT WARRANTY OF ANY KIND, EXPRESS OR
 IMPLIED, INCLUDING BUT NOT LIMITED TO THE WARRANTIES OF MERCHANTABILITY,
 FITNESS FOR A PARTICULAR PURPOSE AND NONINFRINGEMENT. IN NO EVENT SHALL THE
 AUTHORS OR COPYRIGHT HOLDERS BE LIABLE FOR ANY CLAIM, DAMAGES OR OTHER
 LIABILITY, WHETHER IN AN ACTION OF CONTRACT, TORT OR OTHERWISE, ARISING FROM,
 OUT OF OR IN CONNECTION WITH THE SOFTWARE OR THE USE OR OTHER DEALINGS IN THE
 SOFTWARE.
4. Test and publish the package
Write test cases (Optional)
This step is optional; the package can be published directly. But, writing test cases is always a good idea.
Create an example project
Let's create a new application project and import a package from the local path to check whether our package is working or not.
To import the package from the local path open pubspec.yaml file and add dependencies by adding your package name and path of the project folder as shown

Now, run pub get.
Now, you are able to use it in your application project.

Done! Push your code on Github👏
Now let's try this package is ready for the pub.dev or not.
Open the command prompt in the package directory and run the following command
flutter pub publish --dry-run
If there is any error solve it else we can publish it to pub.dev. But be sure that you are ready because publishing is forever. we can’t remove the package from there. So if you are ready, run the following command:
flutter pub publish
For authentication, one link will be provided, just open it in the browser and select your google account, wait for uploading.
And it's Done! You've made your own Futter Package.👏😎
If you have any questions, feel free to connect with me on LinkedIn.